


Setting up Zendesk Support can be a complex process, but having a plan or a checklist to work off of can make the process easier to navigate.
Here is an overview of what a basic Zendesk set up process typically looks like to help you quickly and easily get your Help Center up and running!
5 Essential Steps For Every Zendesk Set Up
The Zendesk Set Up process may vary depending on which products you are using and how you plan to integrate them into your business. But these 5 steps are essential to just about every Zendesk instance.
1. Invite Your Team
Zendesk works best when every member of your team has access to the information they need, and adding everyone’s email addresses to your platform from the beginning can help you make sure that everyone is ready to go. You can then consider how your business might best support each member of your team throughout the Zendesk set up and onboarding process.
- Navigate to the Admin Center and select Team > Team Members
- Click Add Team Member
- Enter the name and email address of each team member
- Select the Support Role from the drop down list
2. Set Up Your Support Channels
Making sure your customers have access to your Support in the way that works best for them is an important step in improving your overall customer service experience. This means making sure your teams are equipped to respond to customers’ needs by email, online chat, and voice chat as soon as you set it up instead of sticking to the original setting that only provides services by email is an important step in making sure your customers get the answers they need when they need them.
- In the Admin Center go to Channels > Support
- Follow the instructions provided to connect your desired support channels
3. Set Up Your Apps and Integrations
Choosing the best app options for the nature of your business can go a long way toward providing the most customized experience possible for your customers. Zendesk allows businesses to integrate a wide range of tools into their platforms, such as MailChimp, Salesforce, and JIRA, so you can deliver an exceptional customer experience within a unified system that is faster and more reliable.
- From Zendesk, go to Apps > Marketplace and search the integration you want
- Click Install
- Follow the directions provided to install and configure the integration
4. Set Up Your Ticketing Workflows
Quickly understanding what needs the customers associated with each ticket have can help your team provide more effective customer service. Your views, macros, triggers, automations, service level agreements, and other statistics associated with your ticketing workflows can give you an idea of how well each Support area is performing and which areas can benefit from improvements. Incorporating this data is critical, so your business can properly respond to customers’ expectations in a quick and credible manner.
- In the Admin Center, select Settings > Tickets
- Customize various ticket settings, such as ticket fields, tags, automations, and triggers.
- Configure these settings according to your support workflow and requirements.
5. Train Your Team
Provide training to your support team on how to use Zendesk effectively. Familiarize them with ticket management, responding to customer queries, using macros and automations, and accessing relevant customer information.
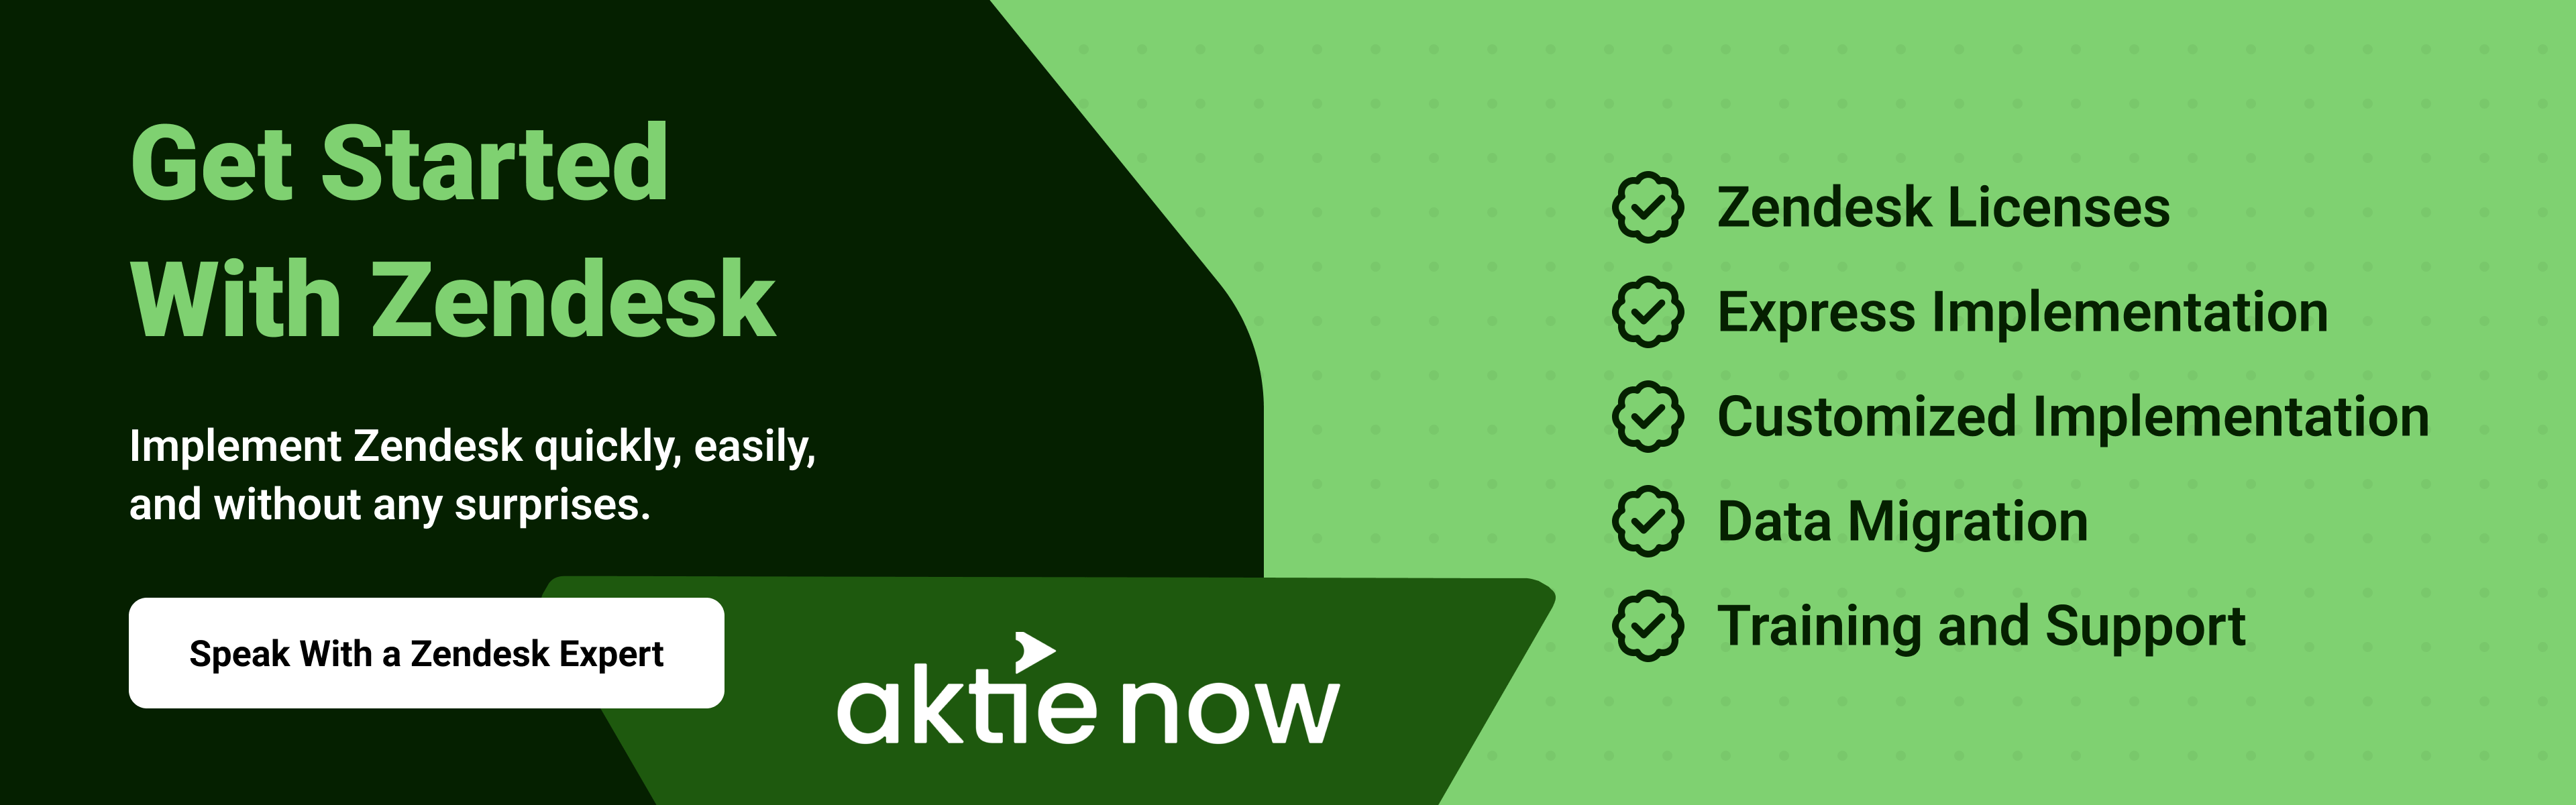
Explore More Complex Settings with Aktie Now
Setting up your Zendesk support module is a fairly simple process, but that doesn’t mean there is no room for error. Aktie Now provides several levels of implementation support, including a fixed-scope implementation that is designed to get you up and running quickly as well as more complex customizations and training.
Contact us today to learn how we can help you.