


Migrating to Zendesk is a powerful way to improve your CX strategy and give customers the quick and efficient help they need. Zendesk not only makes it easy to handle customer queries and organize tickets, but it also adapts to your business as it grows in size and complexity.
Completing a Zendesk data migration might seem daunting — after all, it’s crucial to ensure all of your legacy data is preserved in the transfer. Fortunately, making the switch is actually a very easy process. Read on to learn how to perform a seamless Zendesk data migration in 5 simple steps.
1. Plan your Zendesk data migration
Switching to Zendesk can be a game-changer for your customer support, but making the change without a plan in place could result in mismapped data, incompatible formats, broken dependencies, and lost records. Here are a few ways to prepare for your Zendesk data migration:
- Ensure your team is aware of the migration.
- Select your preferred migration method based on your budget and resources.
- Select the data you want to migrate or erase. This includes removing irrelevant emails, duplicate data, spam tickets, etc.
2. Prepare Zendesk for the data migration
Next, make sure your new Zendesk environment is equipped to accommodate your existing records. To do this, you may be required to:
- Create custom fields with a matching type for accurate mapping and allocation of your records.
- Set up any templates, macros, or saved replies for seamless migration.
- Set up your agent profiles.
- Turn off any unnecessary triggers, notifications, or automations.
You can run a demo data migration to ensure your Zendesk account is well-configured to receive data.
3. Schedule your Zendesk migration
Be sure to schedule your Zendesk migration in advance at a time that works for your team and customers. Carefully timing your migration will ensure you migrate the most up-to-date data. You’ll also have time to inform your customers about the scheduled change. This ensures you don’t lose any updates, and the migration doesn’t affect your customer experience.
4. Execute the Zendesk data migration
When the scheduled time arrives, transfer everything to your Zendesk platform. Depending on the number of records, the process can take anywhere from 20 minutes to several days. During the migration, it’s important to avoid any data entry or new customer communications on the old helpdesk system.
Avoid making any last-minute changes on the day of your migration, as even a simple alteration can lead to unexpected errors and disruptions in the process. If for some reason you need to make a critical change, you can reschedule your migration.
5. Check the results of the migration
After the migration, take your time to check everything and ensure there are no errors. Here are a few things to look for in the migrated data:
- Tickets were assigned to the right agents
- All custom field values were migrated
- All comments were correctly migrated
- Check the integrity of imported attachments
You should also disconnect your old helpdesk provider and route all potential sources of communication to Zendesk. Once you’ve done that, congratulations — your new setup should now be up and running!
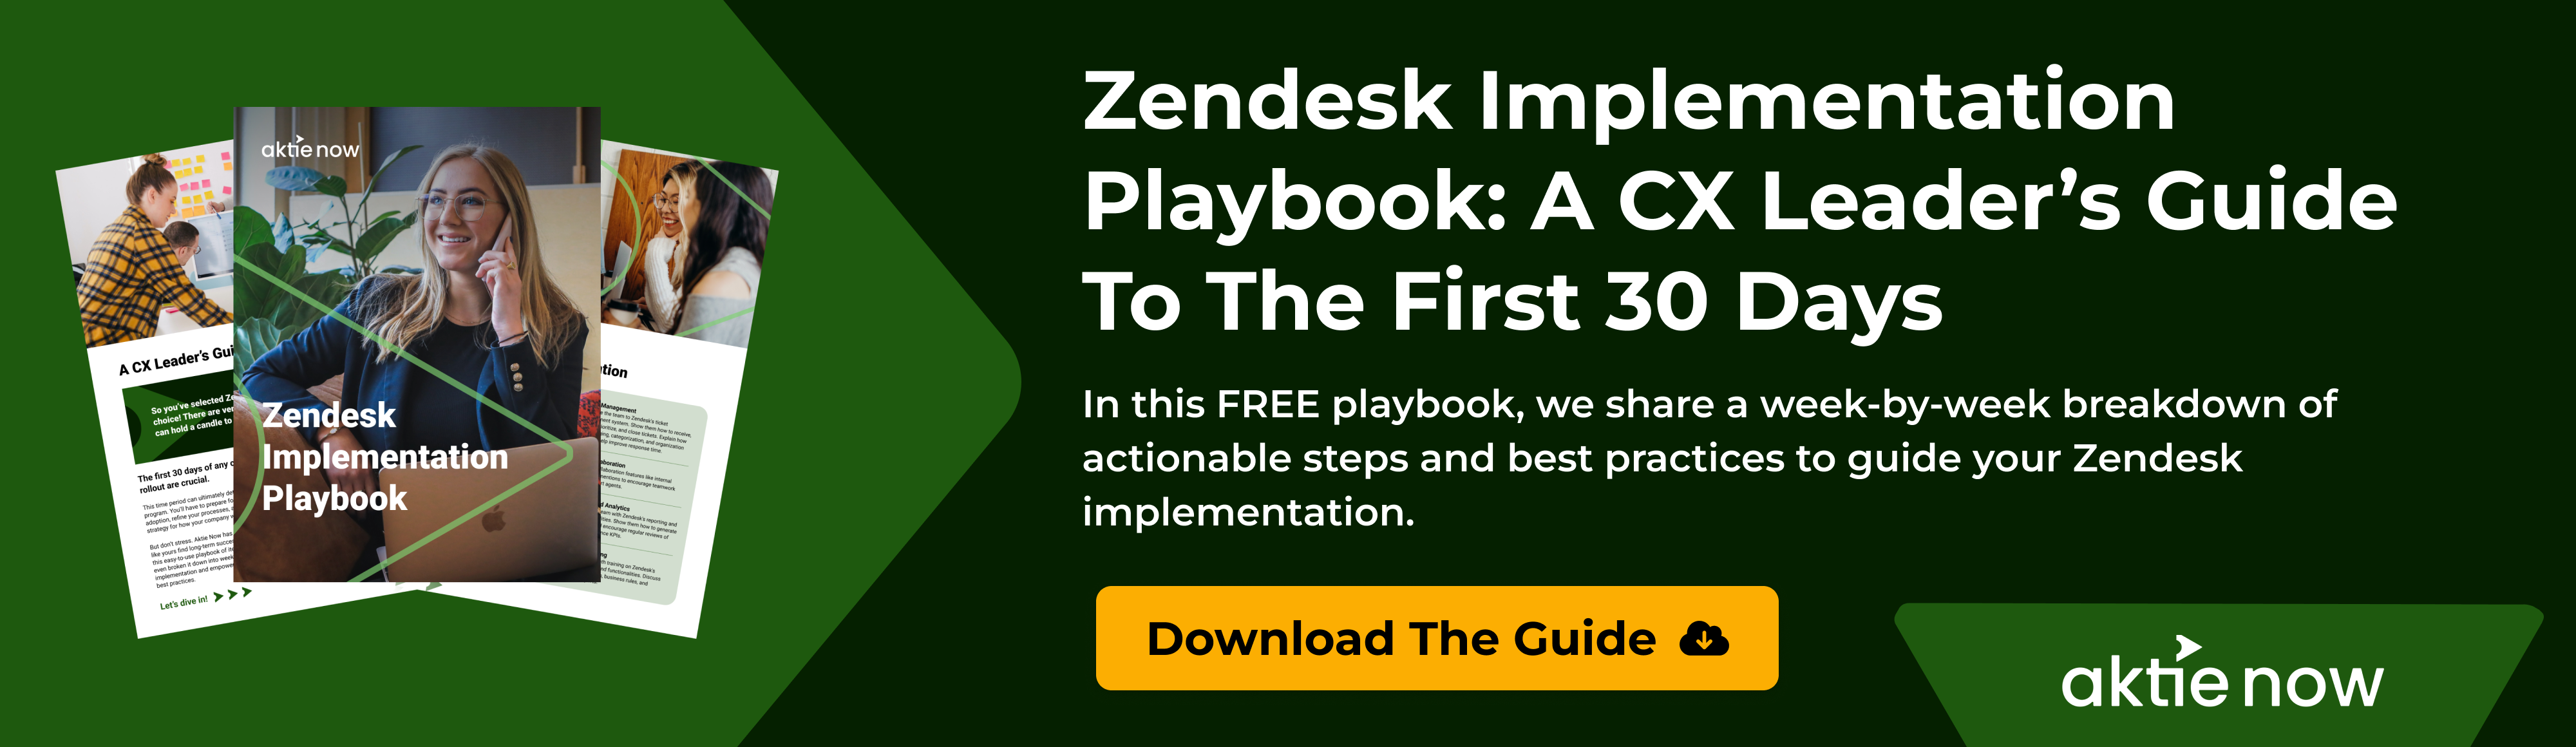
How to Streamline Your Team’s Zendesk Implementation
Zendesk is one of the very best — if not the best — customer support platforms on the market, and making the switch can be a game-changer for your business. Still, like any large update, it may take time to integrate the new tools into your team’s day-to-day operations.
If you’re interested in streamlining that process, check out our free Zendesk Implementation Playbook. Inside, you’ll get a four-week strategy that walks you through how to launch the Zendesk software, introduce it to your team, optimize the tools, and plan for long-term growth. If you’re ready to upgrade your customer support as quickly and efficiently as possible, download your playbook and get the ball rolling today.